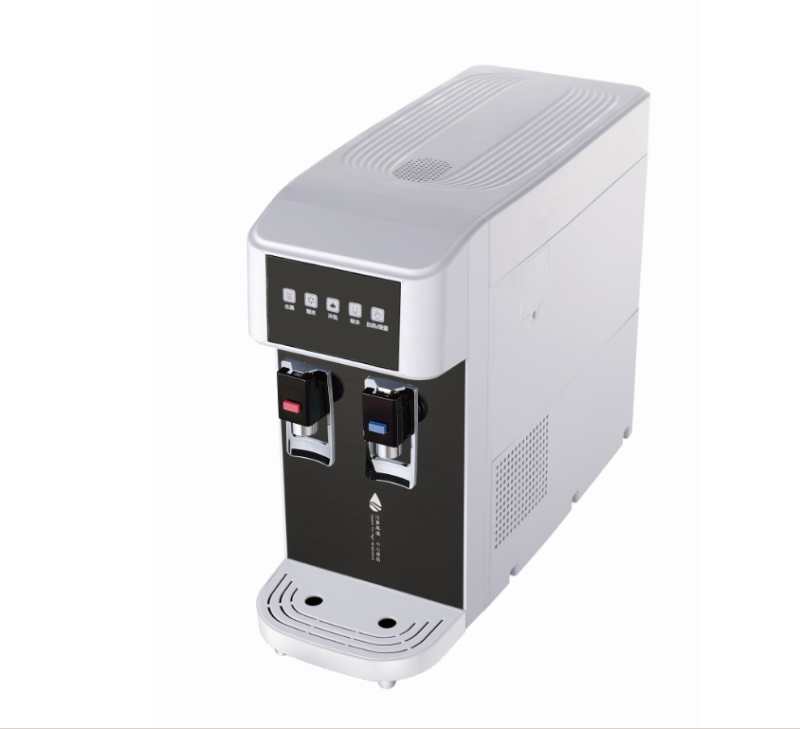
Installation of water purifier
Installation of water purifier
One: Choose the installation location, the basic requirements of the installation location
1. The machine should be installed near the water source, and drainage should be convenient;
2.The installation position of the machine will not affect other daily operations of the user
3. The machine and pipeline are installed in a place that will not be exposed to direct sunlight;
4. If possible, install in places with drainage and floor drains, such as kitchens and bathrooms. Avoid installing near wooden floors or valuables;
Two: At the selected host installation location,
The installation should be level, and there should be no skew that can be detected by the naked eye;
Install the water main unit in a convenient location
3: Install the filter element. Install the randomly matched filter element according to the corresponding PP-granular activated carbon-post-compressed carbon-ro.
1. Pay attention to the sequence;
2. One end of the granular activated carbon with the sealing ring facing down;
3. Caution when tightening the filter bottle: first shake the filter bottle lightly and feel the resistance until it is completely tightened to prevent the filter element from being not centered and causing internal leakage;
4. Be careful not to damage the O-ring when tightening the filter bottle.
Four: Install water inlet tee and water inlet small ball valve
1. According to the actual situation of the user, close the user's main water inlet valve or the corner valve in the cabinet, open the user's faucet to relieve the pressure in the pipe;
2. According to the actual installation position, unscrew the user's faucet or the cold water connection hose in the cabinet, and wrap the raw material tap at the externally-connected water inlet tee and connect it to the water pipe; Wrap the raw material tape everywhere and connect it to the internal thread on the side of the water inlet tee; reinstall the tap or connection hose;
3. Close the water inlet ball valve, open the main valve of the tap water or the corner valve under the cabinet, test the newly installed water inlet tee, and check for water leakage or water seepage;
4. Connect the water inlet of the machine with the water inlet ball valve (do not open the water inlet ball valve first);
5. The inlet tee must be connected to the cold water pipe (to prevent the RO membrane from being damaged by being connected to the hot water pipe by mistake).
Five: Install Gooseneck Faucet
1. According to the actual situation of the user, choose the fixing method of the gooseneck faucet (desktop installation or wall-mounted installation);
2. Make holes at the selected position and fix the gooseneck faucet;
3. Connect one end of the PE pipe to the gooseneck faucet and the other end to the water purification port of the water purifier.
Six: Scan the QR code and follow the prompts. Start up and rinse, rinse off the carbon powder of the activated carbon filter element, and rinse off the protective liquid on the surface of the RO membrane. You can force rinse in the app and repeat 3-5 times until the water is completely
Seven: function test
1. The TDS pen of pure water is used to measure the TDS value of raw water and pure water respectively. It is normal that the TDS value of pure water is less than 10% of the TDS value of raw water.
2. Flushing flow detection First let the water purifier be in the normal state of water production, check whether the flushing valve is open and the flushing flow is normal. After the flushing, whether the flushing valve is closed and the waste water flow returns to normal;
3. The water shortage protection test first puts the machine in the water-making state, and checks whether the status indicated by the computer control board is consistent with the actual working state of the machine;
Eight: Water tightness test After the above debugging work is completed, clean all pipes, components, filters and joints with a dry towel to make the machine run normally. After 20-30 minutes, use a dry paper towel or touch by hand to check all zeros. There should be no leakage or leakage of components and joints.
Nine: After the washing watertightness test of the activated carbon filter is qualified, open the gooseneck faucet, rinse the carbon powder of the activated carbon filter, and close the gooseneck faucet;
Ten: Installation of waste water pipes
1. Connect one end of the waste water pipe to the water outlet of the water purifier, and insert the other end into the sewer or a user-specified water storage container
2. When the waste water is connected to the sewer, the pipe head is cut into a bevel. The insertion depth is generally 15-20 cm. Do not insert it below the liquid level of the sewer to prevent clogging of the waste water pipe.
3. The waste water pipe must be reliably fixed with the electrical tape of the sewer hose to prevent leakage of the waste water pipe and cause water leakage.
Eleven: Reinstall the cover, and check the details and position of the machine again;
Twelve: Usually, the first bucket of water is drained, do not drink, continue to turn on the faucet and rinse until the test is correct before normal use.
Precautions
1. The water purifier with heating must have water coming out of the hot water faucet. Turn on the heating switch at the back. After the water is out for a period of time, rinse the carbon powder of the activated carbon filter behind, otherwise you will see white foam particles After cleaning it will not be there. After the installation and commissioning, the first bucket of water is released, and you can drink it later.